
When I was planning Finley's circus party, I decided the best thing to do for party favors were to find themed crayons. Being the crafty person I think I am, I decided I would make my own. So I ordered a circus lollipop mold, bulk crayons and googled "how to make crayon party favors." Armed with my supplies and internetted knowledge, I thought I was in good shape.
Here's what I did.
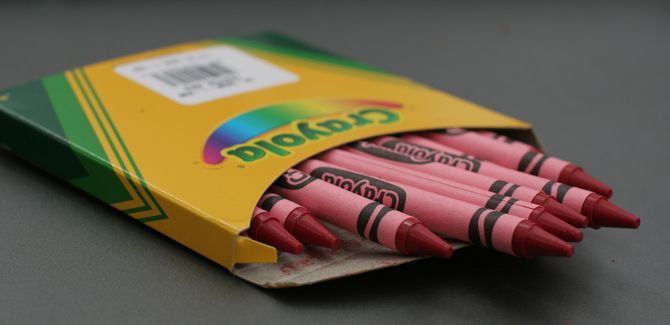
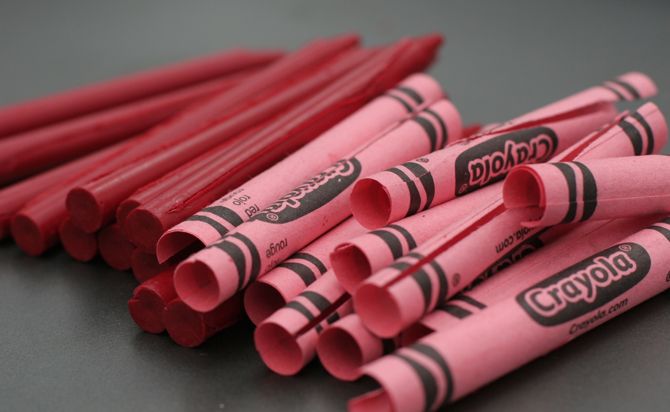
1. Slice the wrappers off the crayons. Perfect, easy. No problem. I'm feeling good.
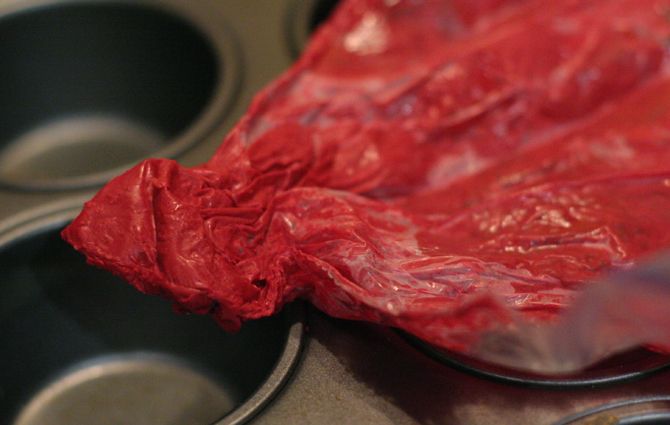
2. Melt crayons. This is not as easy as I thought it would be. After they have melted you have to pour them into the mold, so what you melt them in needs to be pourable. At first, I put crayons in a ziploc bag and then microwaved it in a cup of water. DISASTER. Don't try that.
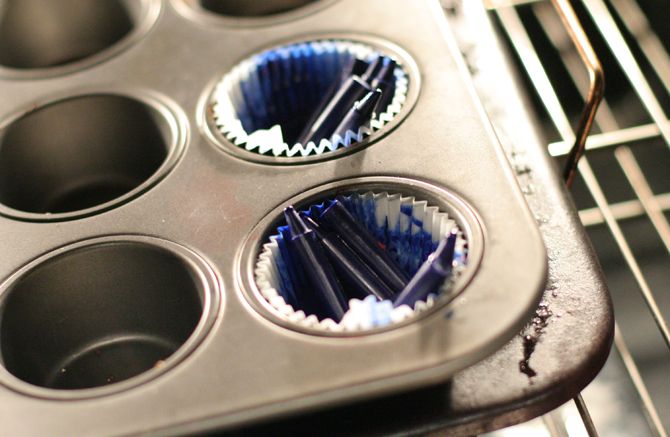
Then I put them in a muffin tin and used the muffin liner to pour. Less of a disaster.
3. Pour the extremely hot wax into the little plastic mold you paid too much for on Ebay. Don't burn yourself. Don't spill it.
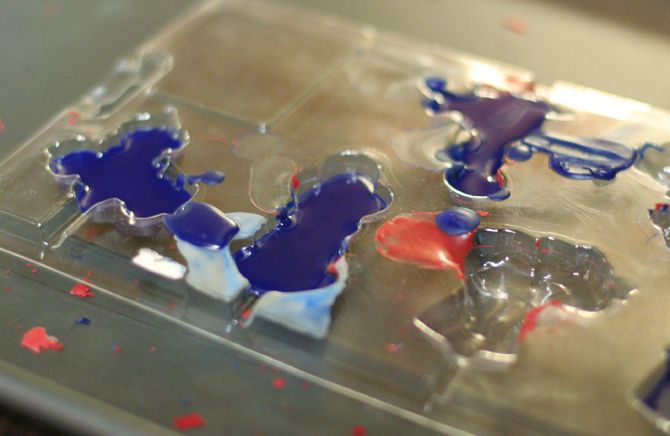
4. Let molds cool in freezer, then pop out.
5. Repeat 8 million times. No seriously, it took forever. This was partially because my candy mold had four clowns on it and I really didn't want to use clowns. So every round of melting and cooling only produced four crayons, rather than seven.
I got about 14 molds from 24 crayons. I also learned that if you fill them too much then the wax runs out the lollipop stick hole and makes a mess. Each shape took a little less than 2 crayons to fill. And you can fill them a lot lower than you think you need to--it makes your crayons go further.
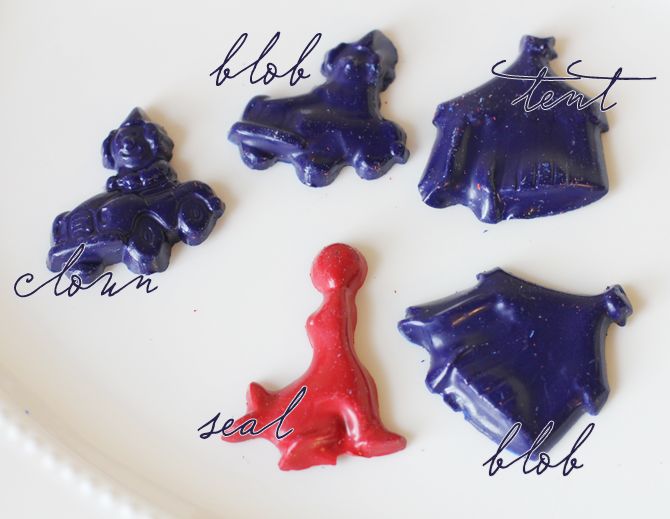
The BIGGEST lesson I learned: the lollipop molds are not as heat resistant as you would think. My first crayons came out darling... after being filled with HOT wax 3 times, the molds started to lose their shape and look like barely identifiable blobs.
The verdict? I would maybe make these again... but after the money spent on the mold, crayons and my burning anger towards the finished product, it might be best just to leave it up to the pros on Etsy. Keep this lesson in mind next time you throw a party and need invitations and decorations... leave it to the pros. (Or the amateurs masquerading as pros.)

From the standpoint of a former elementary art teacher, this was a crazy idea. Don't get me wrong, the idea was great. Next time, what you need is one of those silicone molds you put into your oven. Then you can melt the crayons and just pop them out once they cool.
ReplyDeletehttp://www.amazon.com/Betty-Crocker-Silicone-Heart-Muffin/dp/B001GPF7QU
We did this as a class project if you can believe it! We melted the crayons in glass baby food jars set in simmering water in an electric skillet(because we did not have an stovetop available) I think it would work even easier in a pan on a stovetop. Then we used potholders or ovegloves to pour it into the molds after we dried off the jars. I am surprised that the molds didn't hold up better as we made several hundred crayons. I admire your patience!
ReplyDeleteI TOTALLY HAVE SILICONE MOLDS.
ReplyDeleteAlso. Abbey's comment made me laugh.
And I'm sure the look on my face when you told me about this was also classic.
um yes, i will not try this craft ever. thankyou for warning. LOL
ReplyDeleteSounds like a simple idea...melt crayon, pour into mold, cool and use. Looks like the trip to the crayon factory with Mr. Rogers is overdue!
ReplyDeletehttp://pbskids.org/rogers/picpic.html